Sky Effects For All
Sky FX Part 2A - Material
Like everything in Bryce, there's several ways to do the same thing.
It's up to you to find what suits your style best. Here's some ways to get to materials on your objects.
From the Top Toolbar:
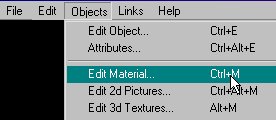
By Clicking the Material Icon at the Far left top or the [M] next to a selected object:
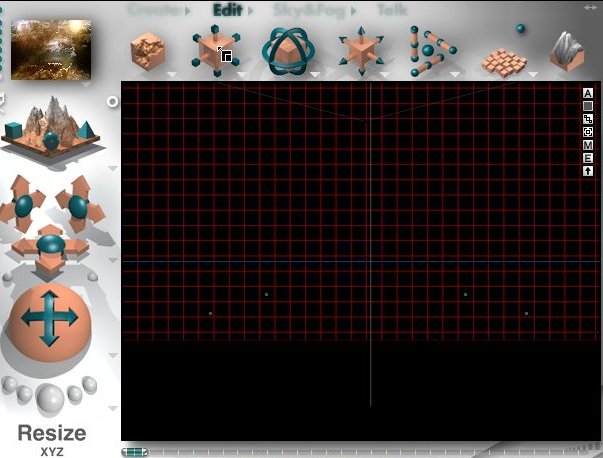
If you like keyboard shortcuts just look at the various menus.
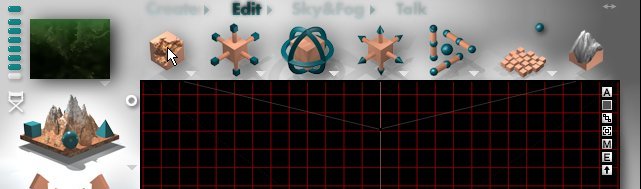
Make sure your lattice is selected (click on it if not) and hit the letter [M] that shows in the Bryce work area.
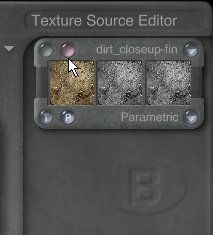
As soon as you enter the Material Lab a random texture is assigned.
T = Procedural Textures (a fancy name for Bryce default textures)
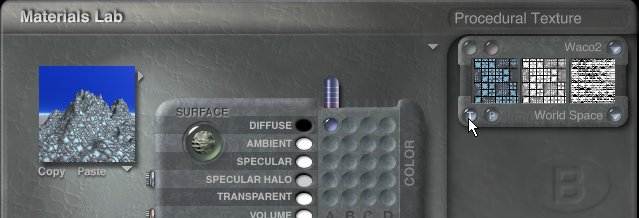
We have to tell Bryce that to use an Image Texture.
Click the letter P (Picture)
Then click the Pink button
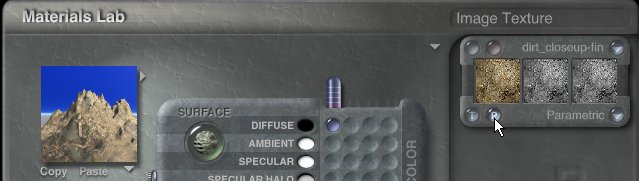
And here's where you'll end up. The Picture Editor.
Actually it doesn't Edit a thing, it simply loads images.
Start by clicking a blank square or Load above the Top Left picture where Leo usually resides.
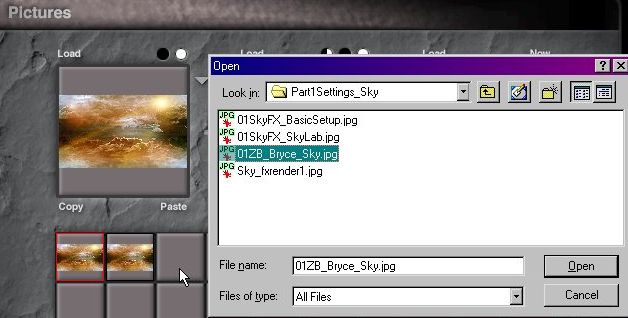
Now go find the image and click Open.
It will pop into the first image box at the Top Left as shown above.
Click Copy under the first picture (this puts it on the Clipboard by the way)
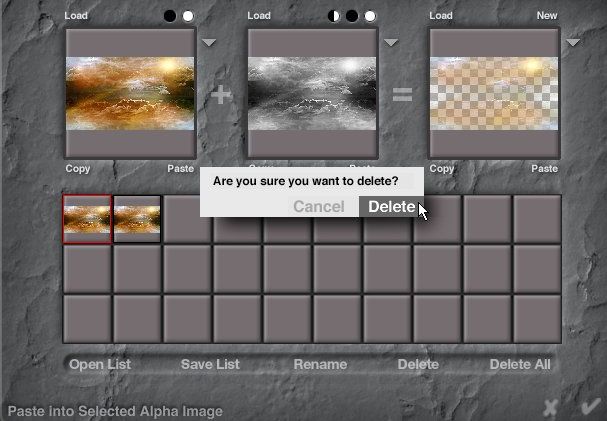
Click Paste under the Middle (ALPHA) box, say Yes to the delete dialog.
Hit the check mark to return to the Material Lab.
Because we flipped the lattice around we have to place the Picture in the same way.
On Object Top
Click the down arrow at the lower right for Mapping Modes.
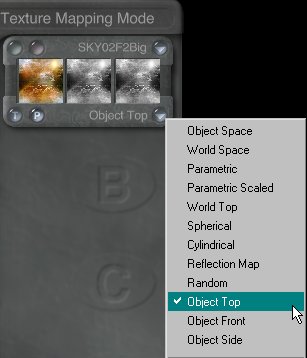
This may be different in Bryce 5. Try Object Front or Parametric if your result is wrong.
Click the arrow to the top left of the 3 preview boxes and select Blend Transparency.
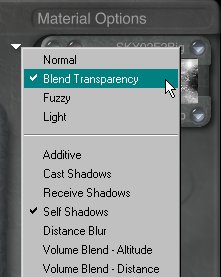
Disable Cast and Receive shadows by scroll and clicking.
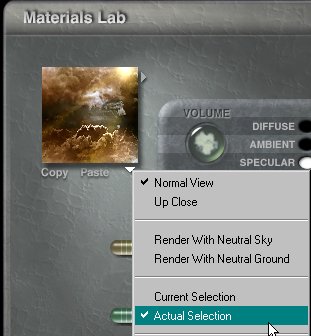
To see what's happening click beneath the Scene Preview and choose Actual Selection.
Clicking all these little damn arrows drives me nuts!
Click where you see my mouse pointer to flip the Material to Volume
Use the settings below for the lattice...please make sure they are exactly the same excepting Ambience.
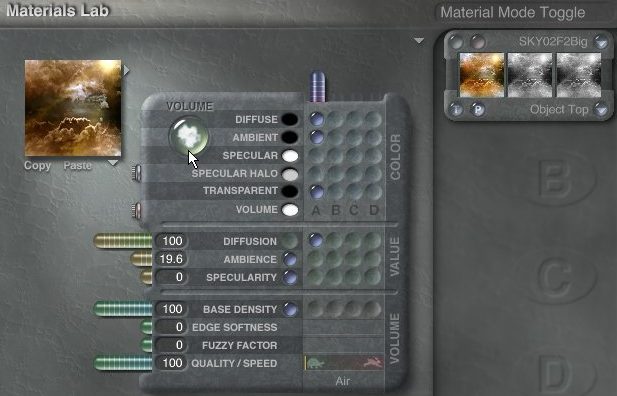
Ambience is not really needed with most Images as they have a lot of light value in them already.
By enabling the 'dot' in the Ambient column above in the COLOR section the material is self illuminating. Ommmmmmmmmmmmmmmmmmm. Heheheh. Sorry.
Ok...Click the check at the bottom right to Exit the Material Lab
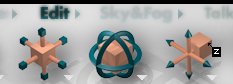
The lattice has to be repositioned to make room for other items. Shown is the Control, just click on Z, drag to the right and move the lattice back.
Do the same on the X axis and drag to move the lattice toward the back center.
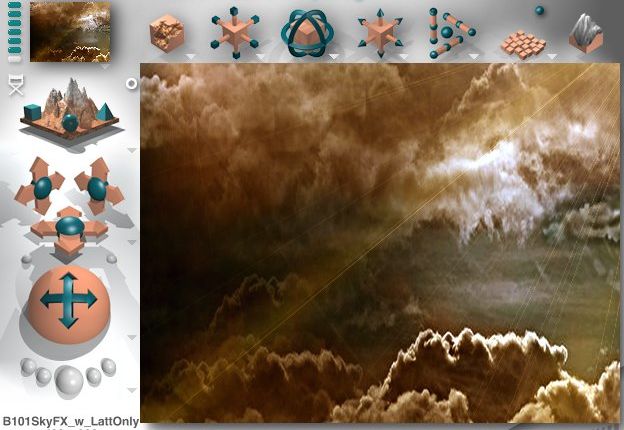
You should end up somewhere like this:
Now click the XYZ Size control as shown above and make the lattice big enough to fill the screen to the edges.
Click on the lattice, hold down and drag it to the right.(The cursor changes to a 4 way arrow) Note also how it changes in the Small render preview at the top left...
Resize again to fill the screen.
Use the shortcut Ctrl+R to do a Render. Hopefully your results look something like mine.
If not keep moving and resizing as needed to get a result similar to the image.
Here's where I'm at so far:
This is a good time to Save the file. Use File \ Save from the Main Menu or use the keyboard command Ctrl+S.
The image will be applied to the Terrain and 2d object in the same manner as the lattice. The next section is much less detailed accordingly.
I hope you've been able to follow to this point and have learned something you can use in your own imagery. I can see from here that you're doing great. Carry on!
Next up Terrain and 2D