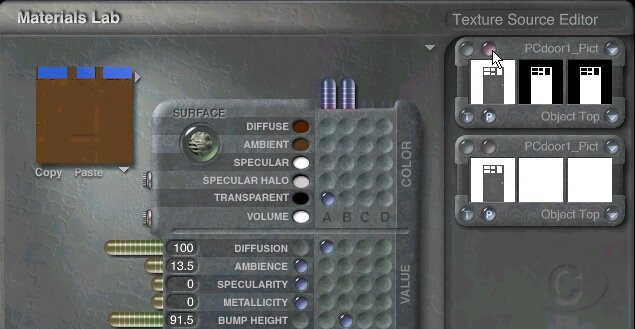
Step 1. . .Click the [M] next to the door lattice to enter the Material Editor. Click the Leo (Pic texture) button as shown.
Note: You don't have to use transparency options because Bryce can not 'see' black in an image when used in the middle Alpha box.
The color of the door comes from the Default column Diffuse and Ambient COLOR and A column Diffusion Value.
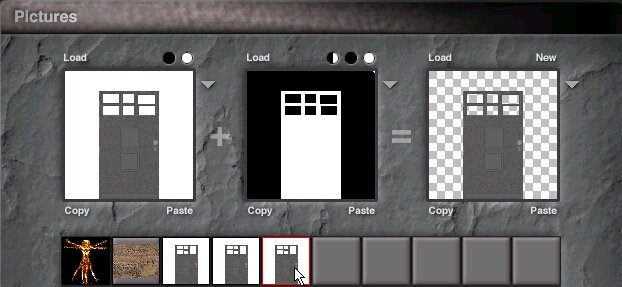
Step 2. . . and then click a blank square (browse to find the picture) as shown to load the appropriate psd.
(one has fancy top windows, one designs)
Click the check mark to exit and return to the Mat Lab. Use the settings shown below in the first (A) material channel.
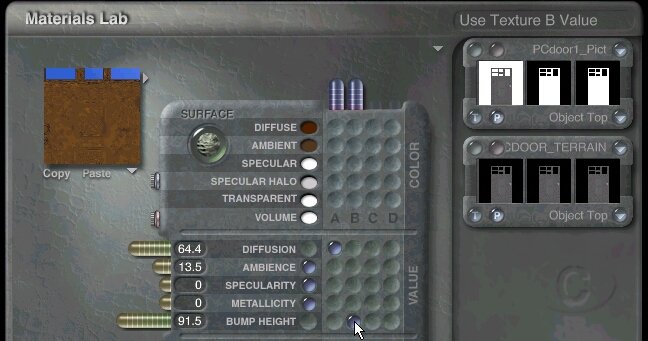
Step 3. . .Click the Bump button in the B Channel and then click the Pict Editor (Leo) again to get a bump map onto the door.
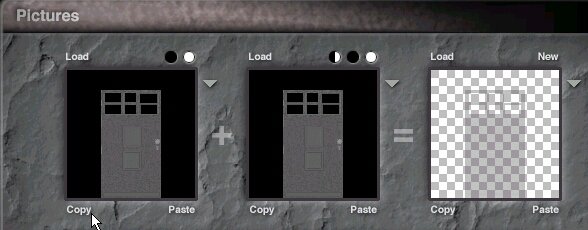
Step 4. . .Click on Load this time and find the same TERRAIN image you used earlier and select it.
Click Copy beneath the first picture box on the Left, then Paste it into the Middle box. Hit the check mark to Exit.
In the Mat Lab crank up the Bump Height and you will now have visible grain and features on the door.
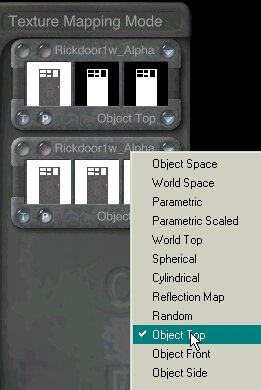
Make sure you have the Mapping Mode set to Object Top on both Picture Textures....please?
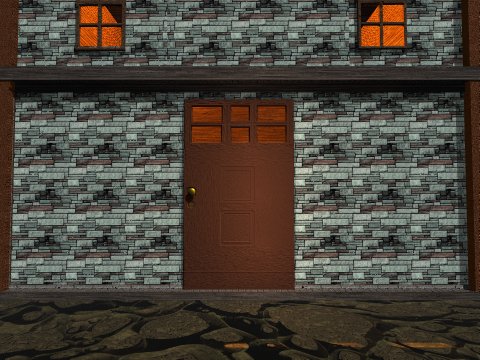
Here's a quick render using the instructions on these pages - let me know how you do with this.
Paul a.k.a. Pinhead 12 Sept 2001, May 2004, Dec 2006